![]()
We have talked about Google Authorship and why it’s going to be a big deal in the future. Well, it will be and companies would do well to prepare for when Author Rank comes out.
At least if you’re still interested in SEO then.
Revisiting Google Authorship Benefits
A quick recap on Google Authorship. It allows you to link all the content you write online to your Google+ profile. If you consistently create content on a certain topic, and it is shared, +1’ed and liked, Google will assume that your content is of high value. Google will then consider you (the creator) an authority in your subject area.
And why would you want that?
If, or when, Author Rank comes out, any content written by you will be considered of high value, wherever you decide to publish them.
Let’s say you’re writing for MRI Network, an executive search company based in Malaysia, on topics such as how to be headhunted or human resources in general. As you continue writing on your company’s blog and it becomes more popular, both your company’s website and your Author Rank becomes more authoritative (for your particular vertical, in this case headhunting and executive search).
And we know that Google is trying to rank more authoritative websites better in the SERPs.
This helps build not only your company’s search engine presence, but your personal brand as well.
Convinced yet? Great, let’s get you started!
Step-by-Step Guide to Setting Up Authorship
The basic principle behind Google authorship is reciprocal linking – a link from your Google+ profile will point to your content while your content will have a link pointing back to your Google+ profile.
Step 1: sign Up for a Google+ Profile with Your Gmail Account
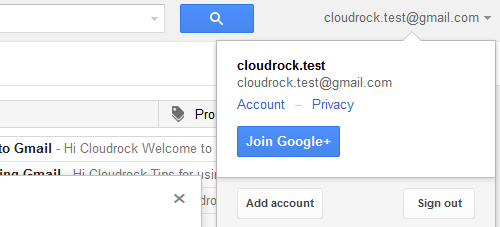
You can easily sign up for a Google+ account from within your Gmail account as shown in the screenshot above.
Maybe too easily.
You may end up with too many Google+ accounts if you have multiple Gmail accounts. That happened to me so decide early which Gmail account will be your primary one.
For those who have corporate Gmail accounts and private ones, Google recently provided a tool for you to combine both of them. I’ll probably have to use that soon so I’ll let you know how that goes.
If you’re new to Google+, here’s a 15-minute Jumpstart Guide.
Step 2: Add Contributing Websites to Google+
Once you’re logged into your shiny new Google+ account, go to your ‘Profile’ page and click on the ‘About’ tab as shown below:

Now scroll down and you will see a section called ‘Links’. Click on the ‘Edit’ link.
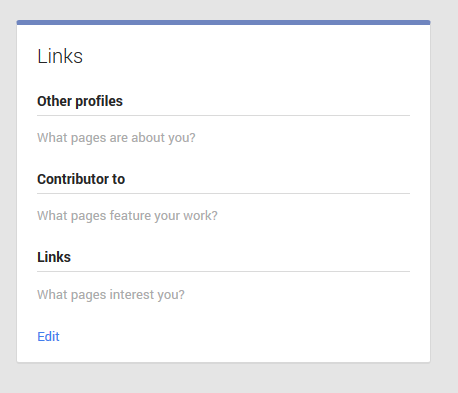
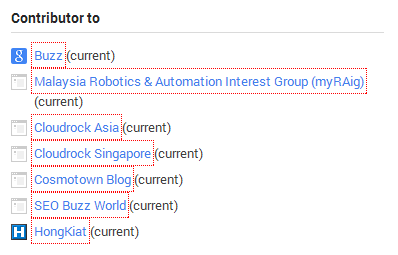
You will see the section below. While it would be a good idea to fill in the other sections as well, the one we are interested in now is the one called ‘Contributor to’. Here’s where you list the sites you write for.

It should look something like this:
Step 3: Add the Rel=Author Tag to Your Content
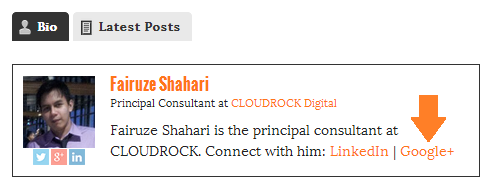
From the byline or author box on your article, link to your Google+ profile, adding ‘?rel=author’ (without the ”) to the destination URL. The link will look like this:
![]()
Step 4: Check to Ensure It’s Working
You’re almost done. Now check that your markup is working by using Google’s Rich Snippet Testing Tool.

You’re done! Great Job!
That’s all there is to it. Now continue creating great content!